6 Ways to Protect Your Images While Travelling
Travel photography has changed dramatically over the last decade or so. Almost everyone now has a digital camera to capture the sights they see: an SLR, a compact or a smartphone. Taking pictures has never been so easy; it seems carefree – and free. Yet there are a few drawbacks to this accessibility. In this series I’ll share a few practical tips with you about digital photography on the move.
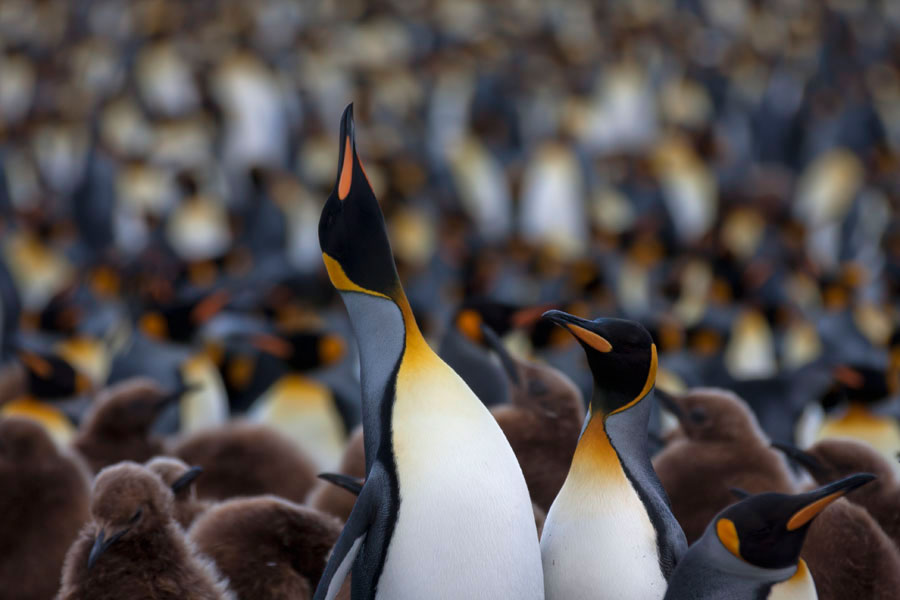
Let me start with a short story. The day before we were due to arrive at Port Stanley (the Falklands), one of my fellow passengers came to me to ask my advice. The memory card in his camera was nearly full after six months of travelling around South America. And in just over two weeks we would be travelling to the island of South Georgia and on to Antarctica – quite likely a once-in-a-lifetime trip, on which you would want to take lots of photographs.
It turned out he only had one 32GB memory card with. What was worse, in all that time he had never backed up his photos. He asked me how he could upload them via internet in Port Stanley the next day. I soon shattered his illusions: the couple of hours we were to spend in Port Stanley would never be enough to upload 32GB via a slow internet connection. At the same time I was shocked. He’d been so lucky – he could so easily have lost all his photos through theft, technical failure or simply by losing his camera. How many travellers treat their images like this?
 Modern cameras are deceptively simple machines, but ultimately they are highly advanced digital monsters. Here are a few ways to tame them:
1. More than one card
Buy several cards with smaller capacity. It’s better to have four 8GB cards than one of 32GB. Cards can break, you can lose them, or they can get stolen. Spread the risk. Don’t be persuaded to buy the fastest cards. Most cameras these days have good data buffers so, unless you need to take loads of photos in a short space of time (e.g. sports photography), you won’t usually need that extra speed.
2. Make backups
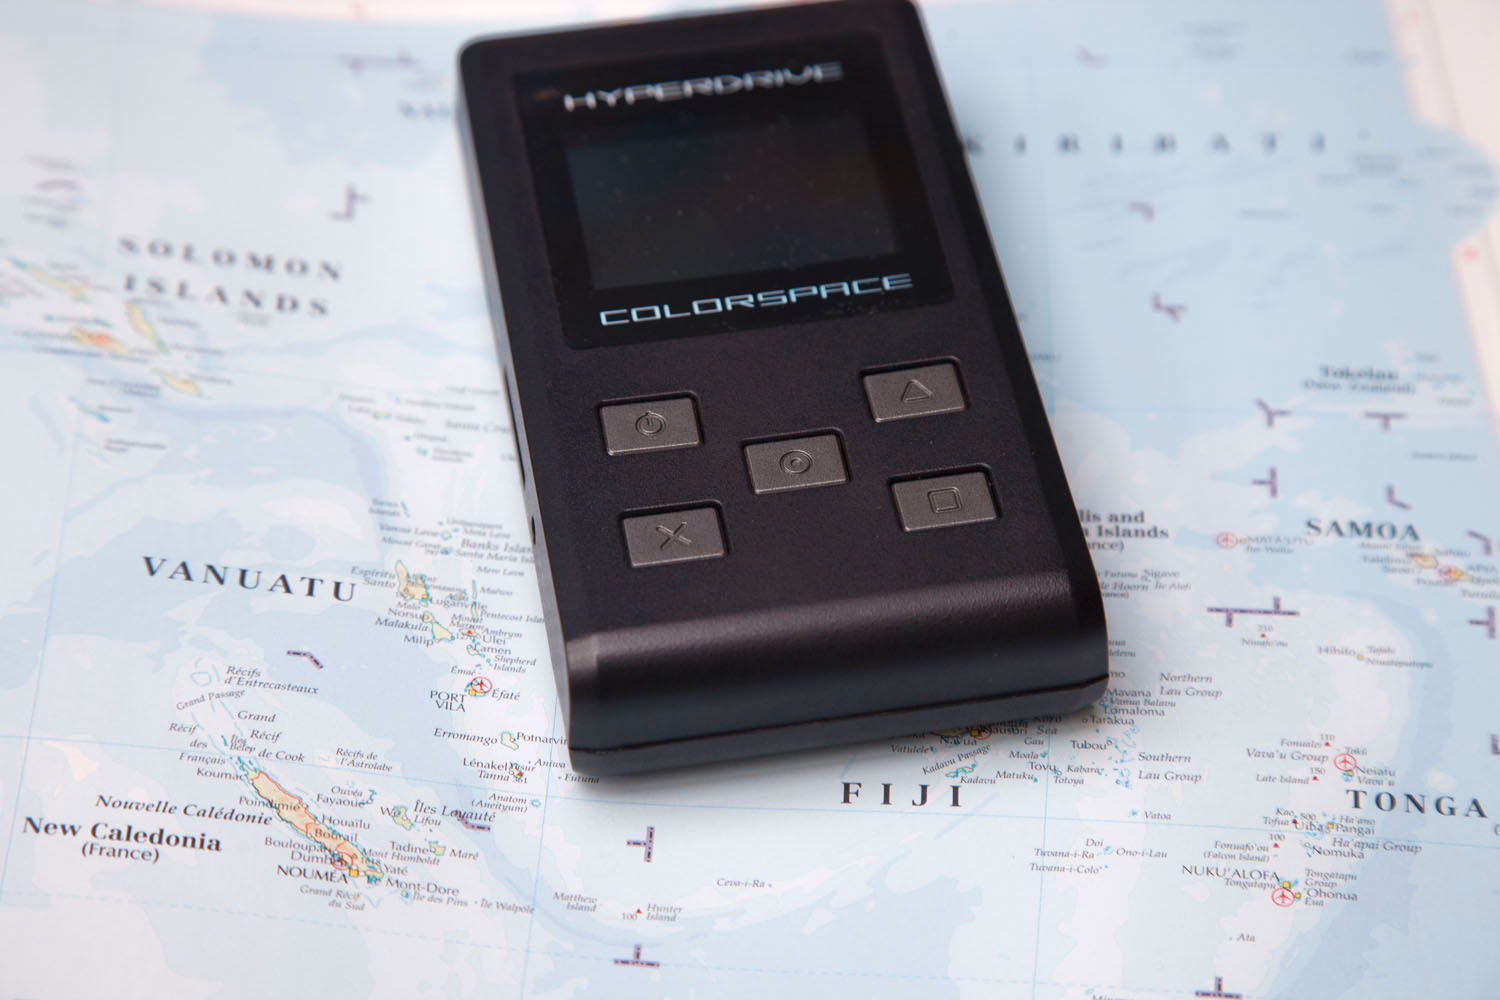
I like to adhere to the tripple-backup principle. I then stash my backups in different places. One backup in or near my camera, one on my laptop or portable storage device, and one or more on portable hard disks. I always ensure one or two backups remain in my hotel room, one in my money belt (which is full of memory cards), and one in my rucksack or camera bag (second hard disk). If you don’t have any large documents, or don’t take many pictures, you can copy them via internet to the Cloud or to your own server. But remember, internet is much slower in many places than it is at home and sometimes there is no internet at all.
3. Take extra batteries
Batteries can break, or go flat just when you’re about to take a fabulous picture. I always take at least two extras with me – and I, of course, make sure they are charged as much as possible. If your camera’s batteries tend to run out quickly, and/or if you are inclined to take lots of photos, you could take more batteries, especially if you are unlikely to be able to charge them very often.
4. Ziploc
Take ziploc/plastic bags to protect your memory cards, batteries, hard disks and laptop. Buy a waterproof, roll-up bag for your camera, which you can easily stuff into your rucksack or camera bag. I once lost a camera because I was caught unprepared by a downpour and couldn’t protect my camera well enough.
5. Don’t erase your card unless you have to
Try to keep you card full and only empty it when you get home. That way you have an extra backup. Never select options like “delete photos from camera” or “erase memory card after download”. Use a new card. If you do find you have to erase a memory card (the best way is to reformat it), only do so after you have made at least two copies of the card.
6. A second camera
Consider taking an extra camera or camera body with you. For me it usually comes down to choosing between extra weight and security, and the hope that I’ll be able to buy a new camera if mine lets me down. I generally only take an extra camera on trips I am unlikely to go on again easily.
Before we arrived in the Falklands I had made a copy of the guy’s card, with which this story began. This meant he could take all the photos of Antarctica he wanted.
So, here were a few practical tips about travel photography and digital cameras – boring, but vital basics. In my next blog I’ll look at how to take photographs and give some simple tips for improving the quality of your images.